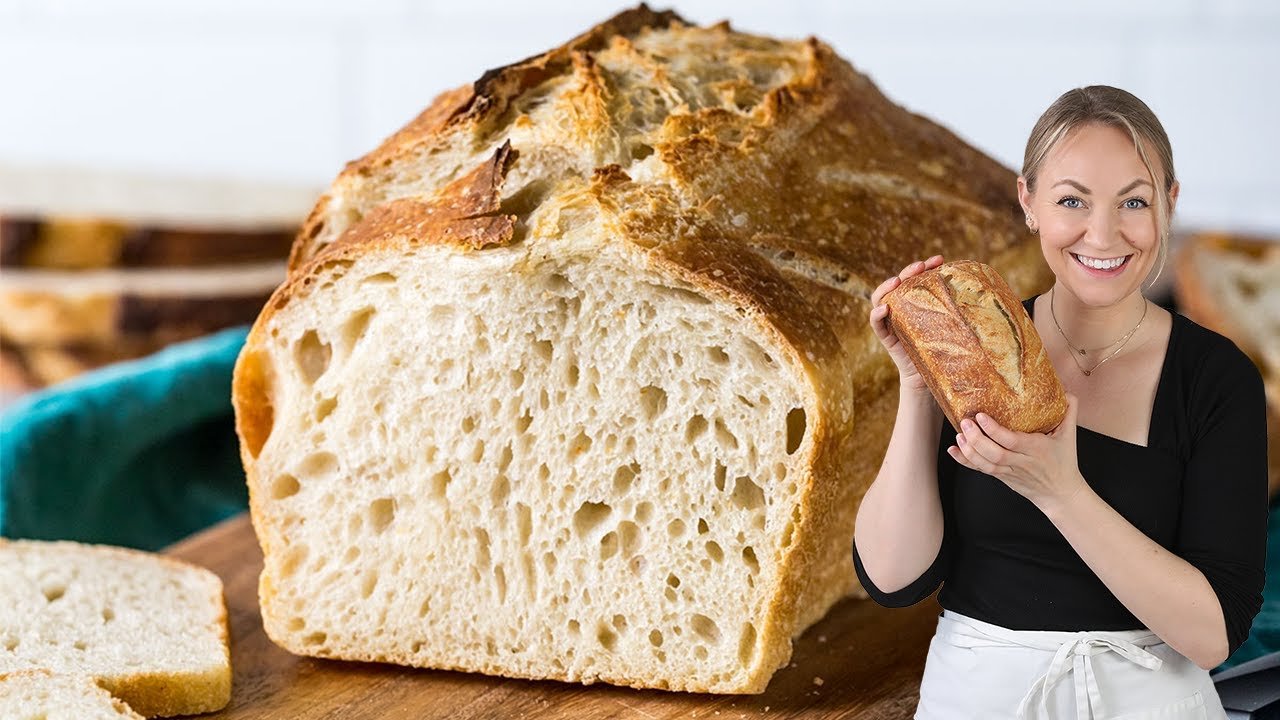
Sourdough bread is more than just a recipe; it is a rewarding craft that blends chemistry, patience, and tradition. Unlike commercial loaves, authentic sourdough relies on a wild yeast starter to create its signature tangy flavor and airy, open crumb. Mastering perfect homemade sourdough bread allows you to control the ingredients, resulting in a loaf that is easier to digest and far superior in taste to store-bought options. This guide will walk you through the nuances of fermentation and technique to help you achieve bakery-quality results right in your own kitchen.
1. Understanding the Sourdough Starter
Your journey begins with the “levain” or starter. This fermented mixture of flour and water captures wild yeast and beneficial bacteria. A healthy, active starter is the engine of your bread, providing the natural leavening required for a high-rising, flavorful loaf.
2. Choosing the Best Flour
For a strong gluten structure, select high-protein bread flour. While all-purpose works, bread flour helps the dough retain gases during fermentation. Experimenting with a small percentage of whole wheat or rye can add a deeper, nutty complexity to your final crust.
3. The Importance of Water Temperature
Water temperature significantly impacts fermentation speed. Ideally, use filtered water around 75°F to 80°F. If your kitchen is cold, slightly warmer water helps activate the yeast, while cooler water slows things down, allowing for a more controlled, long-term flavor development.
4. Precise Weighing with a Scale
Consistency is key in baking. Always use a digital kitchen scale to measure ingredients in grams rather than using volume cups. This ensures your hydration levels are exact, which is critical for achieving the specific texture and crumb of sourdough.
5. Mastering the Autolyse Phase
Mixing just the flour and water before adding salt and starter is called autolyse. This resting period allows the flour to fully hydrate and enzymes to begin breaking down starches. It simplifies the kneading process and improves the extensibility of your dough.
6. Managing Dough Hydration
Hydration refers to the water-to-flour ratio. Beginners should start with 70% hydration to make the dough easier to handle. As you gain confidence, increasing the water content leads to the coveted “open crumb” with large, beautiful air pockets throughout the bread.
7. Incorporating Sea Salt
Salt does more than provide flavor; it regulates yeast activity and strengthens the gluten network. Always use high-quality sea salt or kosher salt. Avoid iodized table salt, as the iodine can occasionally interfere with the delicate wild yeast cultures.
8. The Bulk Fermentation Stage
Bulk fermentation is the most critical phase where the dough grows in volume. During this time, the yeast consumes sugars and releases carbon dioxide. You are looking for the dough to look bubbly, feel light, and increase in size by about 50%.
9. Utilizing Stretch and Folds
Instead of traditional heavy kneading, use the “stretch and fold” technique. Every 30 minutes during bulk fermentation, gently pull the dough upwards and fold it over itself. This builds strength and structure without deflating the precious air bubbles forming inside.
10. Recognizing Proper Fermentation
Learning to read your dough is an art. Under-fermented dough will be dense and gummy, while over-fermented dough becomes weak and collapses. Look for a “jiggle” when you shake the bowl and visible bubbles on the surface as signs of readiness.
11. The Pre-Shaping Technique
Before the final shape, gently round your dough on the counter and let it rest for 20 minutes. This “bench rest” relaxes the gluten, making the final shaping much smoother and preventing the dough from snapping back or tearing.
12. Creating Surface Tension
During final shaping, the goal is to create a tight “skin” on the outside of the dough. This surface tension allows the bread to expand upward in the oven rather than spreading outward, resulting in a tall, proud loaf.
13. Using a Proofing Basket
A banneton, or proofing basket, supports the dough’s shape during its final rise. Generously dust it with rice flour to prevent sticking. The basket also wicks away surface moisture, which contributes to a crispier, more professional-looking crust.
14. The Cold Over-Night Proof
Placing your shaped dough in the refrigerator overnight is a game-changer. This cold retard slows fermentation, deepening the “sour” flavor profile. It also firms up the dough, making it much easier to score with a blade before baking.
15. The Power of Steam
Steam is essential for a thin, crispy crust and maximum “oven spring.” Most home bakers use a Dutch oven to trap the moisture released by the dough. This prevents the crust from setting too early, allowing the bread to expand fully.
16. Scoring for Decoration and Function
Scoring is the act of cutting the dough’s surface with a “lane” or razor blade. This provides a controlled path for the bread to expand. A deep, angled cut creates the famous “ear,” a beautiful crunchy ridge on top.
17. Preheating the Oven and Vessel
Your oven and Dutch oven should be screaming hot before the dough goes in. Preheat them for at least 45 minutes at 500°F. Dropping the temperature to 450°F once the bread is inside ensures a thorough bake without burning.
18. Checking for Doneness
Your bread is finished when the crust is a deep mahogany brown and the internal temperature reaches 208°F. You can also tap the bottom of the loaf; it should sound hollow, indicating that the moisture has sufficiently evaporated.
19. The Importance of Cooling
Resist the urge to slice into hot bread! Sourdough continues to cook and set its internal structure as it cools. Slicing too early results in a gummy texture. Wait at least two hours for the best results.
20. Storing Your Sourdough
To maintain the crust, store your bread in a paper bag or a linen bread box. Avoid plastic bags, which soften the crust. For long-term storage, sourdough freezes exceptionally well when sliced and placed in an airtight bag.
SEO Meta Description
Learn how to bake perfect homemade sourdough bread with our expert guide. Master starter care, bulk fermentation, and scoring techniques for a bakery-quality loaf.
Focus Keywords
- Perfect homemade sourdough bread
- Sourdough starter tips
- Bread fermentation process
- Sourdough scoring techniques
- Dutch oven bread baking
FAQ Section
Q: Why is my sourdough bread so dense? A: Density is usually caused by an inactive starter or under-fermentation. Ensure your starter is doubling in size within 4–6 hours of feeding before you begin your dough.
Q: Can I use all-purpose flour for sourdough? A: Yes, but your bread may have less height. All-purpose flour has lower protein, so it won’t develop as much gluten strength as professional-grade bread flour.
Q: How do I get a more sour flavor? A: A longer, colder fermentation in the refrigerator (up to 24–48 hours) allows organic acids to develop, resulting in a more pronounced tangy flavor profile.
Internal Linking Suggestions
- The Beginner’s Guide to Maintaining a Sourdough Starter: A deep dive into feeding schedules and troubleshooting.
- Essential Tools for Every Home Baker: A curated list of proofing baskets, lames, and digital scales.
- What to Do with Sourdough Discard: Creative recipes for crackers, pancakes, and waffles using leftover starter.
Conclusion
Baking perfect homemade sourdough bread is a journey of discovery that rewards patience and attention to detail. By mastering the balance of hydration, fermentation, and heat, you can produce loaves that rival the finest artisan bakeries. Remember that every kitchen environment is unique, so use these tips as a foundation and adjust based on your results. Happy baking, and may your kitchen always be filled with the incredible aroma of fresh sourdough!